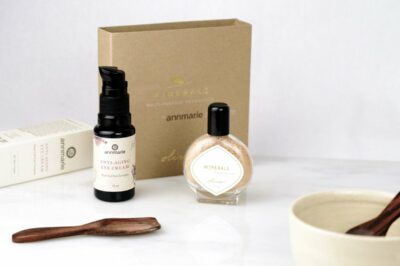
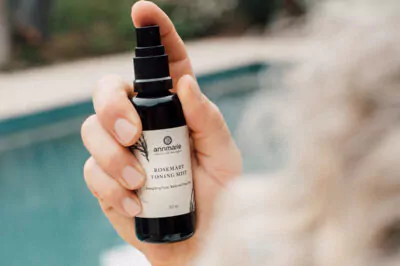
Of all of our products, our Minerals Multi-Purpose Foundation is the most versatile. The shades make a beautiful nude palette for every part of your makeup routine. You can use it as a dry or liquid foundation, eye shadow, lip color, bronzer, eye liner, and even concealer.
We have been feeling especially interested in making a creamy concealer with the Minerals lately because it involves a cool skin care hack—which we’re always looking for—and one of our favorite products, the Anti-Aging Eye Cream.
Before we jump right into the “how-to,” let’s cover our bases.
What is Concealer?
This may seem obvious to you, or it may be that you’re new to makeup and you want to make sure you have your terminology down right. (If that’s the case, you’re starting off right with organic products!)
In the easiest explanation possible, the best concealer is a color corrector for your skin. It’s a cosmetic product that helps to give you a flawless finish by hiding imperfections (blemishes, redness, dark under eye circles, large pores, etc) and blending colors together to make one beautiful complexion.
Watch the 7 Ways the Annmarie Team Uses Minerals Multi-Purpose Foundation
The Secret to a Natural Eye Cream that Actually Works
How to Determine Your Skin Tone
A Few Helpful Tips
Before or after. There is some debate about using concealer before or after your foundation. The choice is totally up to you (everyone on the ASC team does things a little differently) but the goal is always the same, the flawless finish, so try it both ways and keep blending until you have the look you’re going for. Once you get the hang of it, it’ll be easy to see what works best for you.
The color. You want it to be a little bit lighter than your foundation itself so that you can lighten up those darker spots but this isn’t your highlighter—remember that you’re blending the concealer into your skin tones and using it to help create your base so try just one shade lighter to start with.
The texture. The best concealers tend to be super creamy and a bit thicker than your foundation. It’s there to hide your blemishes and dark spots so you can expect it to be extra coverage.
The application. This you want to use slowly and sparingly because it’s lighter than your skin tone and thicker than your makeup base so if you use too much or don’t blend enough it can be a dead giveaway that you spent a while on your look (and let’s face it, we’re always going for that, “I woke up like this” ease). So use small dots and apply a little bit at a time around those areas you’re wanting to lighten up, blending as you go. The best way is to use a makeup sponge so that you know you’re getting an even application and blending.
How to Create a Concealer with Annmarie Skin Care Products
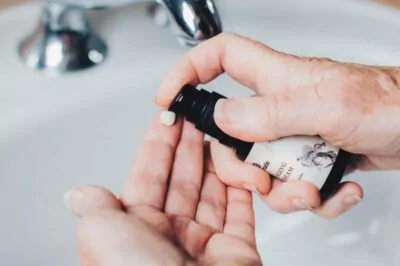
Step one. Tap a little bit of your preferred concealer color into the palm of your hand—the amount of Minerals Multi-Purpose Foundation you use is going to depend on how much you concealer you’re making. One-two taps is great for just around the eyes, add an extra tap or two if you’re working with coverage on your cheeks or forehead as well.
Step two. Pump a bit of the Anti-Aging Eye Cream into the palm with the minerals—like with the minerals, you’ll want to use more or less of the eye cream depending on where you’re using it. Just one pump is usually good for around the eyes but you may need to add a bit more if you’re using it on other places as well.
Step three. Mix the Minerals Multi-Purpose Foundation with the eye cream until you have the consistency you like—this may take adding a bit more of one or the other, just be sure to work slowly as you add. (There is a little bit of a learning curve here, but once you get it, it’s a breeze.)
Step four. Apply. Using a small brush, sponge, or your fingertips place small dots around the eyes and anywhere else that needs a bit more coverage than your base makeup.
Step five. Blend it in—take some time with this step, good blending is the cornerstone of the flawless face so even if it takes a while to get the hang of it, it’s worth it.
Continue steps four and five until you have the coverage that you want. Then finish your makeup routine!


