Have you been racking your brain to find something to fill an empty outdoor wall, bare fence, or awkward space? Save your energy, we have just the thing! Liven up those boring areas and plant yourself a vertical garden. From edibles to annuals, even perennials. You can plant a garden that functions year round, even with a limited amount of space.
Vertical gardens are also known as green walls, Bioboards, biowalls, ecowalls, or living walls. They can be freestanding or attached to an existing wall, and come in a variety of sizes.
Here’s a fun fact! As of 2012, the largest indoor green wall covers 29,063 square feet (more than half an acre!) and is located at the Los Cabos International Convention Center. Pretty unbelievable if you ask me.
Green walls are becoming a common way to improve the aesthetics of public spaces (even airports!). According to greenroofs.com‘s database, 80% of the 61 large-scale outdoor green walls listed were constructed in or after 2009. A whopping 93% dated no earlier than 2007.
Especially in cities where land is limited, vertical gardens can make urban gardening more feasible, and they can be built using sustainable materials. Anything from old food containers, piping, wooden crates, and reclaimed wood can be used to create a beautiful tower of plants.
Ready to get started? We’ve got your vertical gardening 101:
1. Find a south-facing wall or fence

Most vegetables need at least four hours of sunlight a day and a south-facing wall will provide the most light. It can be southwest or southeast, but it should never be north facing. Try using Google maps to locate the most southern wall.
2. Innovative irrigation
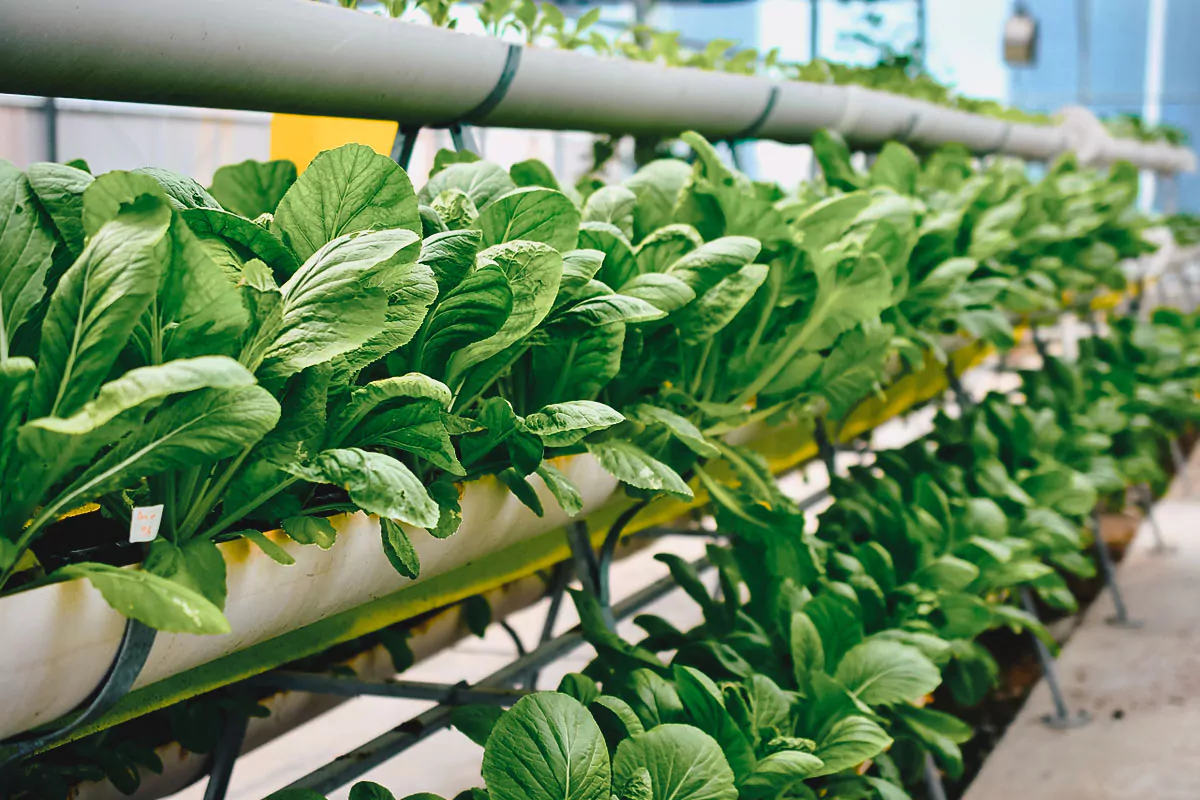
Water will be crucial to the survival of your plants, so plan accordingly. One cool option with vertical gardens is directing the water that would normally drain out of pots and using it to water plants below.
Some very innovative individuals have used pipes arranged in a slanted formation to direct the flow of water from plants at the top to plants at the bottom. This is a great way to save water and generally be impressive.
3. Choose your growing containers

The type of container you use will depend on the types of plants you want to grow, local climate, temporary versus permanent installation, and what kind of surface you’re working with (concrete, chain link fence, wood, brick, and so on). You could attach your growing containers to gridded, stainless steel that affixes to walls and wood fences.
If you have a chain link fence, you can attach plastic pots or reused containers directly to the fence. Try using old milk jugs, yogurt containers, or water bottles like in the picture above. Another good option is Woolly Pockets,which are made of recycled plastic sewn into large pockets with grommets for mounting. There are so many cool ideas on Pinterest, so make sure and check that out!
4. What to Plant
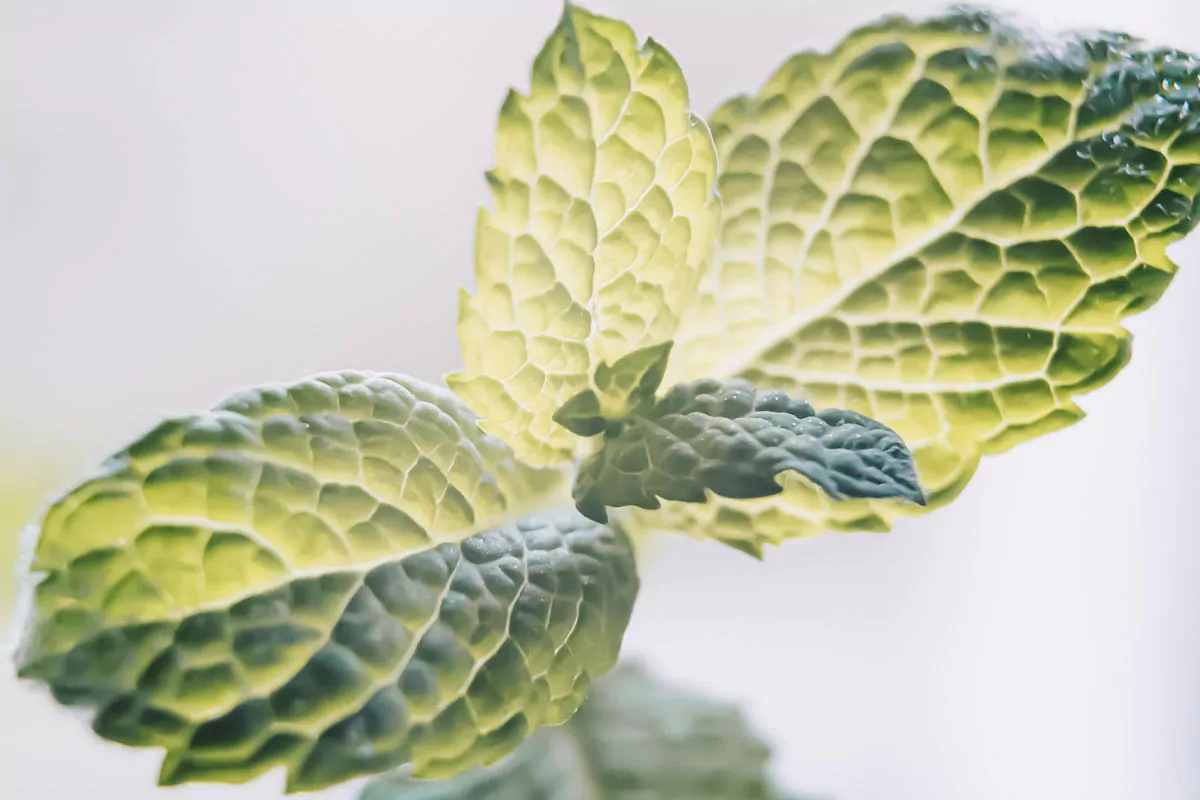
Some plants do well if you start them indoors, while others do better when sown directly. Do your research! If you’re new to gardening, try easy plants like mint, basil or lettuces.
If you’re up for a challenge, try broccoli, tomatoes, or Brussels sprouts. Be sure to consider how much light you’ll be getting and the root depth of the plants you’re growing. Carrots and beets will need at least a foot and a half of soil, whereas lettuces have a much shallower requirement.
Also keep in mind what’s regionally appropriate, and choose foods that you will love eating!
5. Keep it Goin’
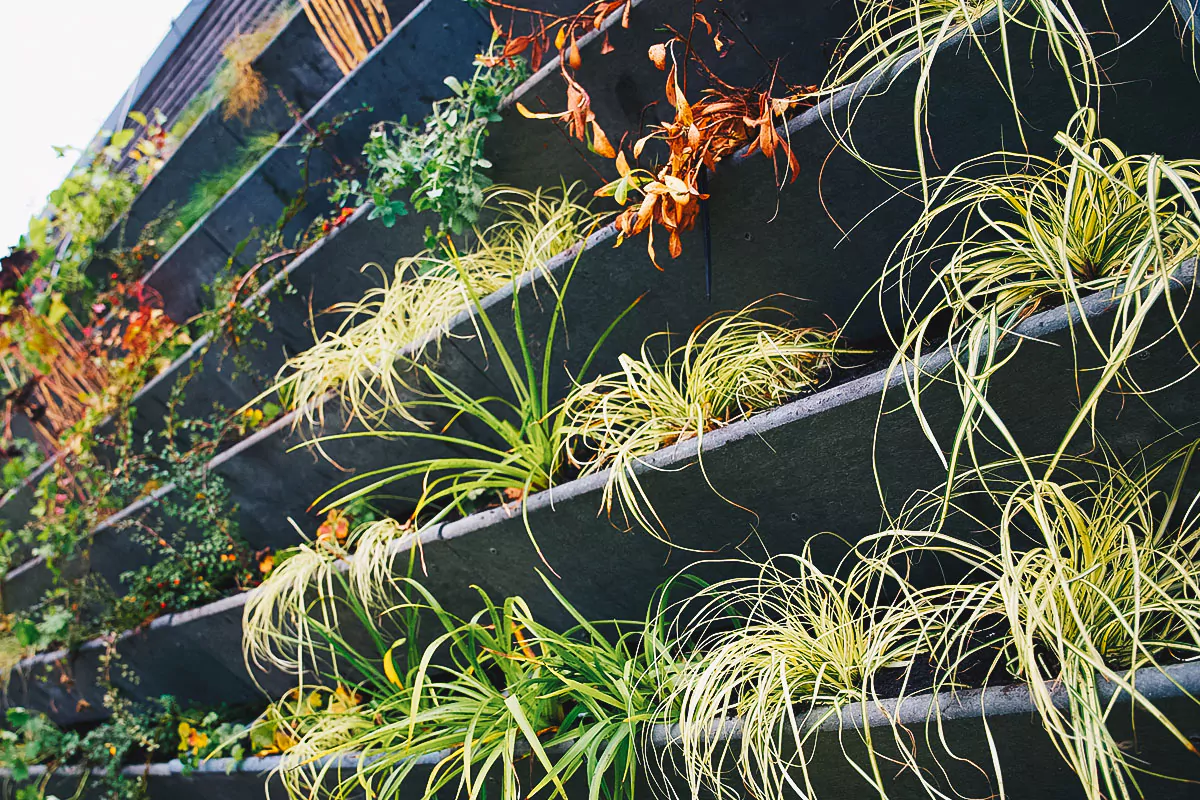
This can be the most challenging part of any type of gardening. Once the thrill of planting is over, it might be hard to remember to water regularly or keep an eye out for bugs. Think about installing an automatic drip irrigation system. If this doesn’t sound like a project you’re up for, set up a daily reminder so you’ll remember to water at least five times a week. Watering at dusk or dawn is best.
Certain kinds of flowers can work as a natural pesticide, called companion planting. And if, despite all your efforts, your veggies aren’t growing? Just pull them out and try something else. Experimenting can be fun, expensive I know, but this is how we learn what works best.
Bonus tips!
- Photograph and document your progress from planting to harvest. You’ll be amazed!
- Got green neighbors? Create a garden share and exchange your harvests
- Keep a garden journal to note what works and what doesn’t. Every year will get better!
- Post to Pinterest to inspire others to garden up
Do you do vertical gardening? We’d love to know how!
by Daniela Serra
Sources:
http://www.countryliving.com/outdoor/how-to-plant-a-vertical-garden#slide-1



Leave a Reply